Finding the right picture and having it fit the space you are working with isn’t always just plug and play. In fact, unless you are taking photos with a specific application in mind, inevitably you will need to resize.
Adding More Sky Tutorial
Finding the right picture and having it fit the space you are working with isn’t always just plug and play. In fact, unless you are taking photos with a specific application in mind, inevitably you will need to resize. Some lend themselves well to being easily manipulated, but sometimes you find the right picture and just have to make it work.
In this tutorial I will walk you through how to take a landscape photo with sky in the top of the frame and lengthen that sky to become the perfect portrait photo you need to fit that magazine ad.
This tutorial uses Adobe Photoshop CC.
Import Image into Photoshop
First, you need to select the right image. For this tutorial, select an image with a blue sky that has nothing impeding it being stretched vertically (i.e. branches or buildings). The image above is the perfect example. Once you have that image selected, import it into Photoshop. Now, we are ready for step 2.
Crop To Size
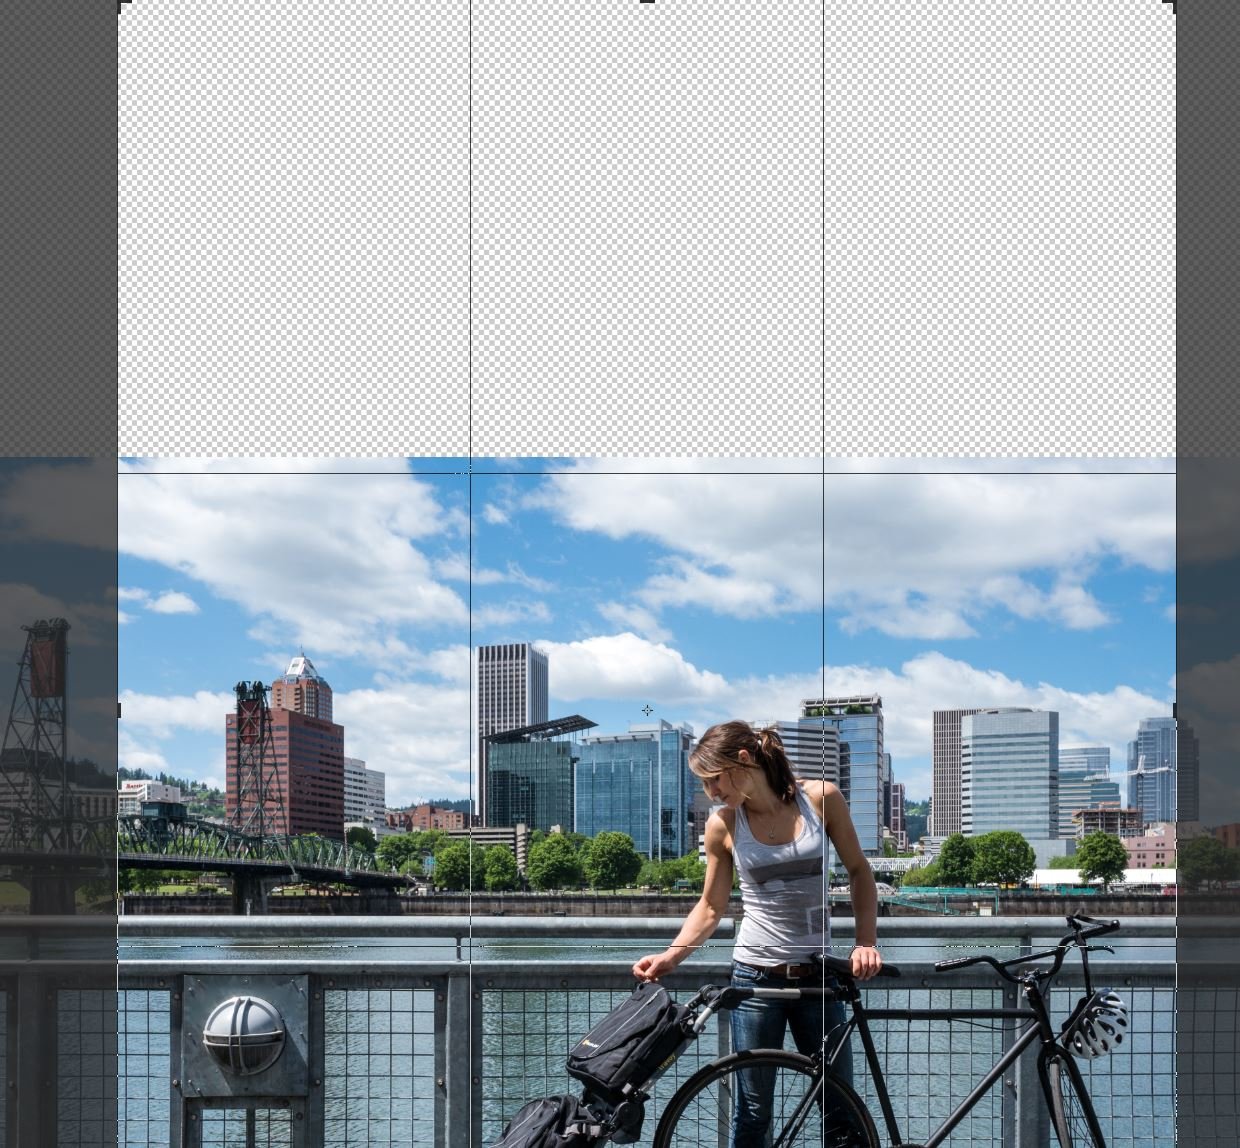
You may skip this step if you want to use the entire image length. However, for my application I will only be using the section with the model. I have opted to crop the sides to ensure the model is large enough in the final product.
First, select your crop tool, then drag the edges to the desired length.
Content Aware Crop
This step is the reason you need Photoshop CC. The content aware crop makes adding more sky easier than ever.
Grab the top of the cropping tool and drag it up to your desired height. I chose to double the height of the image. This doesn’t need to be precise as you will have the ability to resize the height of the image later.
Be sure the content aware button is selected on the top toolbar in Photoshop. Once you have dragged the crop high enough, press enter and wait for the content aware to work it’s magic.
The only problem with the content aware crop is that the clouds don’t look natural. We will fix that in the next step.
Paint the Sky
Now, this step will require some trial and error.
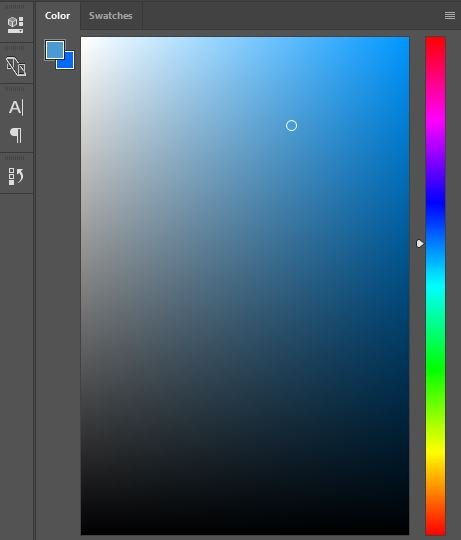
First, select the brush tool from the left toolbar. In the top toolbar you will need to select the brush size and feather. You will want to make your brush as feathered as possible so you won’t paint any unnatural lines in the sky.
We are painting through the clouds because the clouds have too much of a pattern. It’s a rule of thumb in nature that there are no patterns, patterns are typically man made. In the next step we will go over how to make your sky look more realistic.
Create Realistic Sky
Now, begin to paint through the clouds. Remember, ctrl z is your friend. You will want to paint over the new clouds Photoshop created. Take your time. I like to brush large strokes to begin with and then refine the clouds later with a smaller brush size. (You can change the brush size by pressing either [ or ])
Just remember that patterns are a bad thing. Try and mimic the shapes of the other clouds in your image and don’t try to be too measured about your strokes with the brush.
The image looks great and is ready for the final touches.
Add Text & Logo
I chose this image because I knew that I needed something that would lend itself well to text readability. The black pops on the blue and a person’s eye will naturally look down the page.
Be aware of how much content you are adding over the sky, my rule is that a little goes a long way.
We Did It!
If you’ve made it through all of the steps above then you should have a brand new sky added to your photo. There are other ways to do this, but this is the most straightforward way if your photo already has a blue sky.
You can find a ton more Photoshop tutorials at the Adobe website here.
Thanks for following along!


