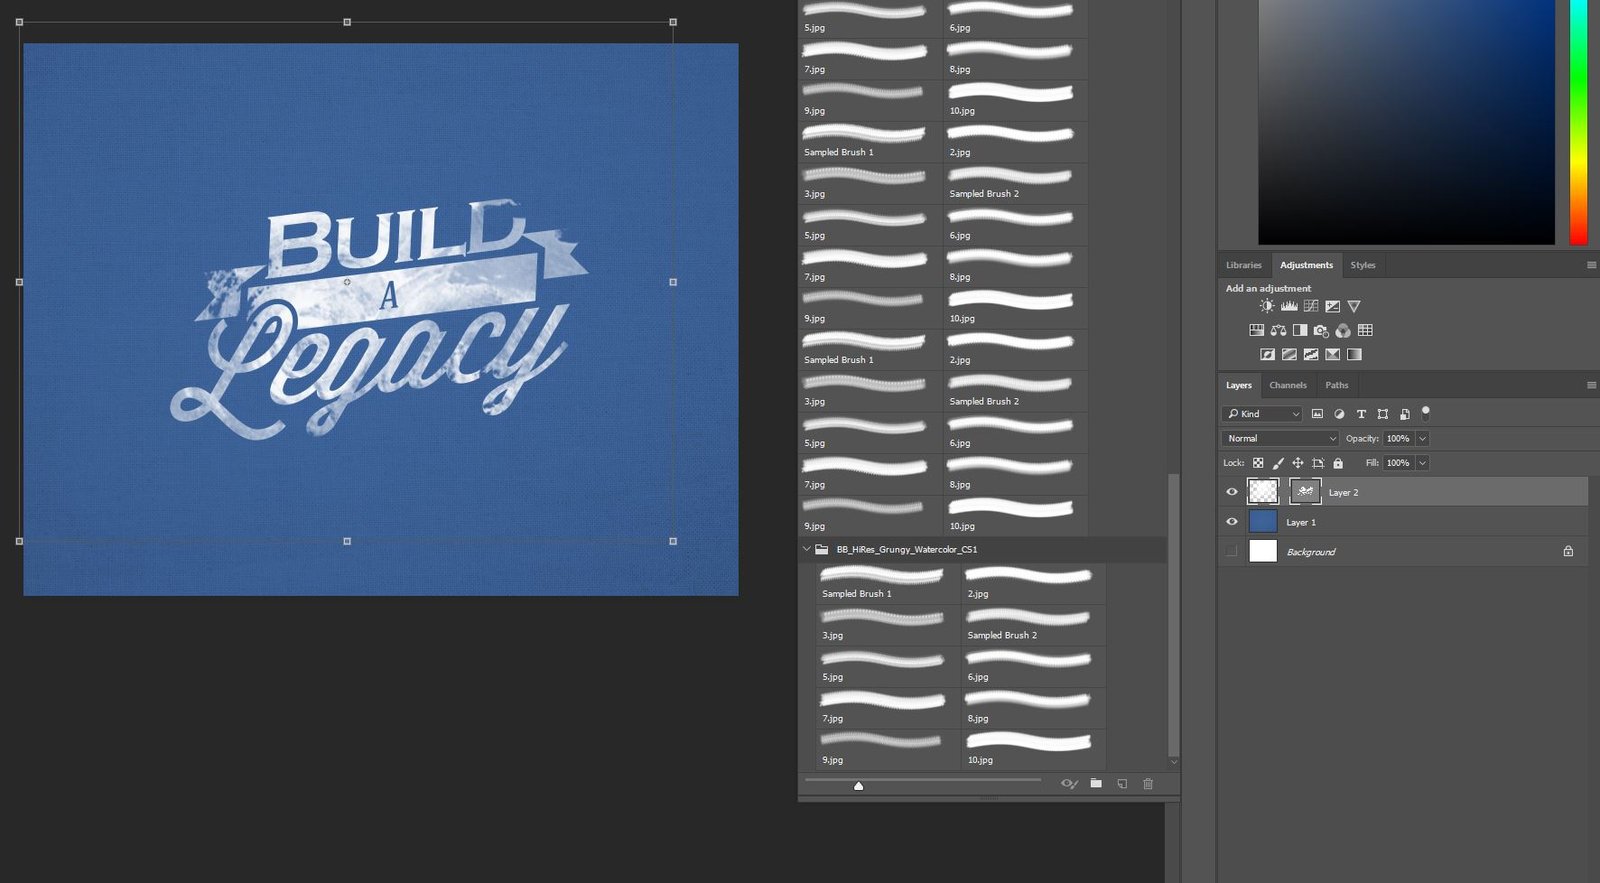
Creating a graffiti style vector using Photoshop is easy and creates a cool look to change up a graphic. This technique can also be used to create an airbrush effect, or any other effect that you can find a brush for.
Apply Texture Brush to Vector Art
Creating a graffiti style vector using Photoshop is easy and creates a cool look to change up a graphic. This technique can also be used to create an airbrush effect, or any other effect that you can find a brush for. Be sure to download a brush that you like and have it ready to go for this tutorial.

Step 1:
Open Photoshop and insert a background image or create a color background.
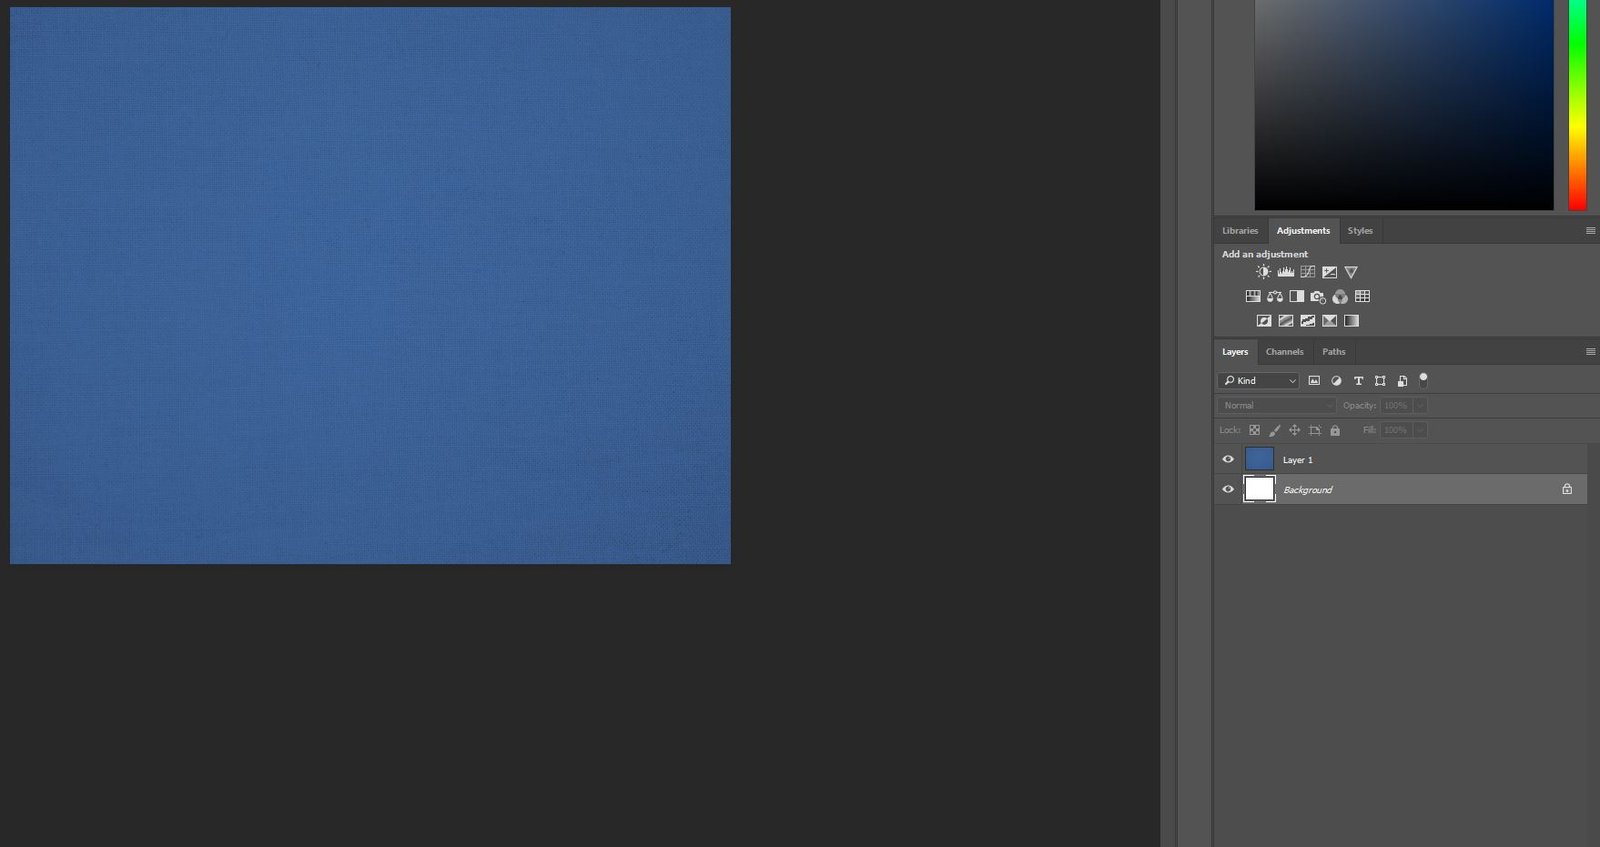
Step 2:
Open the brush tool and use your desired brush on a new layer. You can download a brush similar to the one I used here.
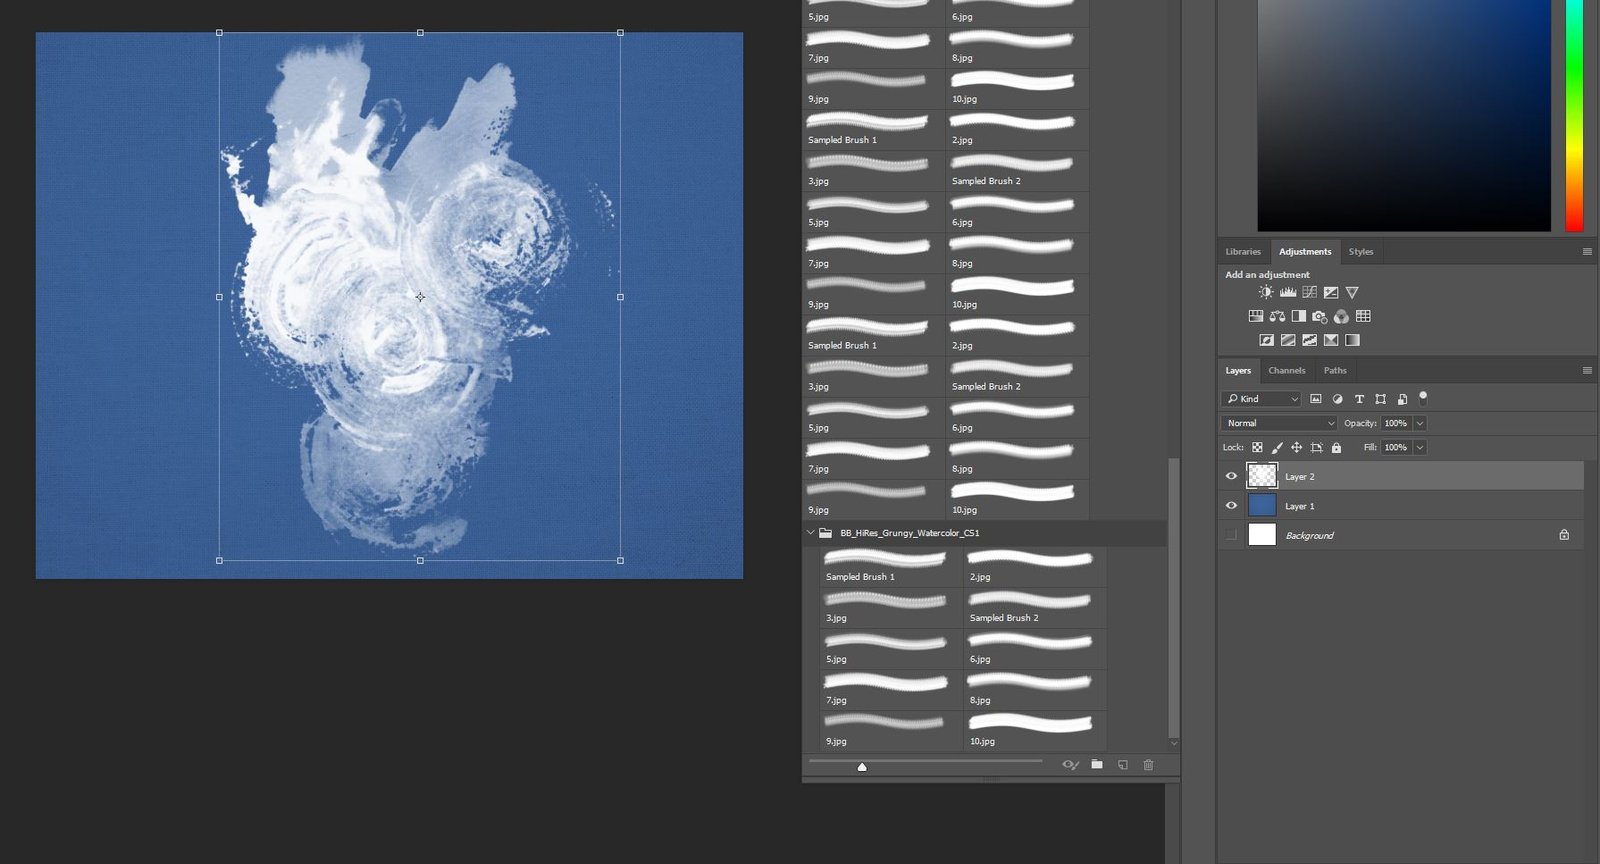
Step 3:
Open a vector in Illustrator and copy it (ctrl+c). I have chosen the Build a Legacy vector.
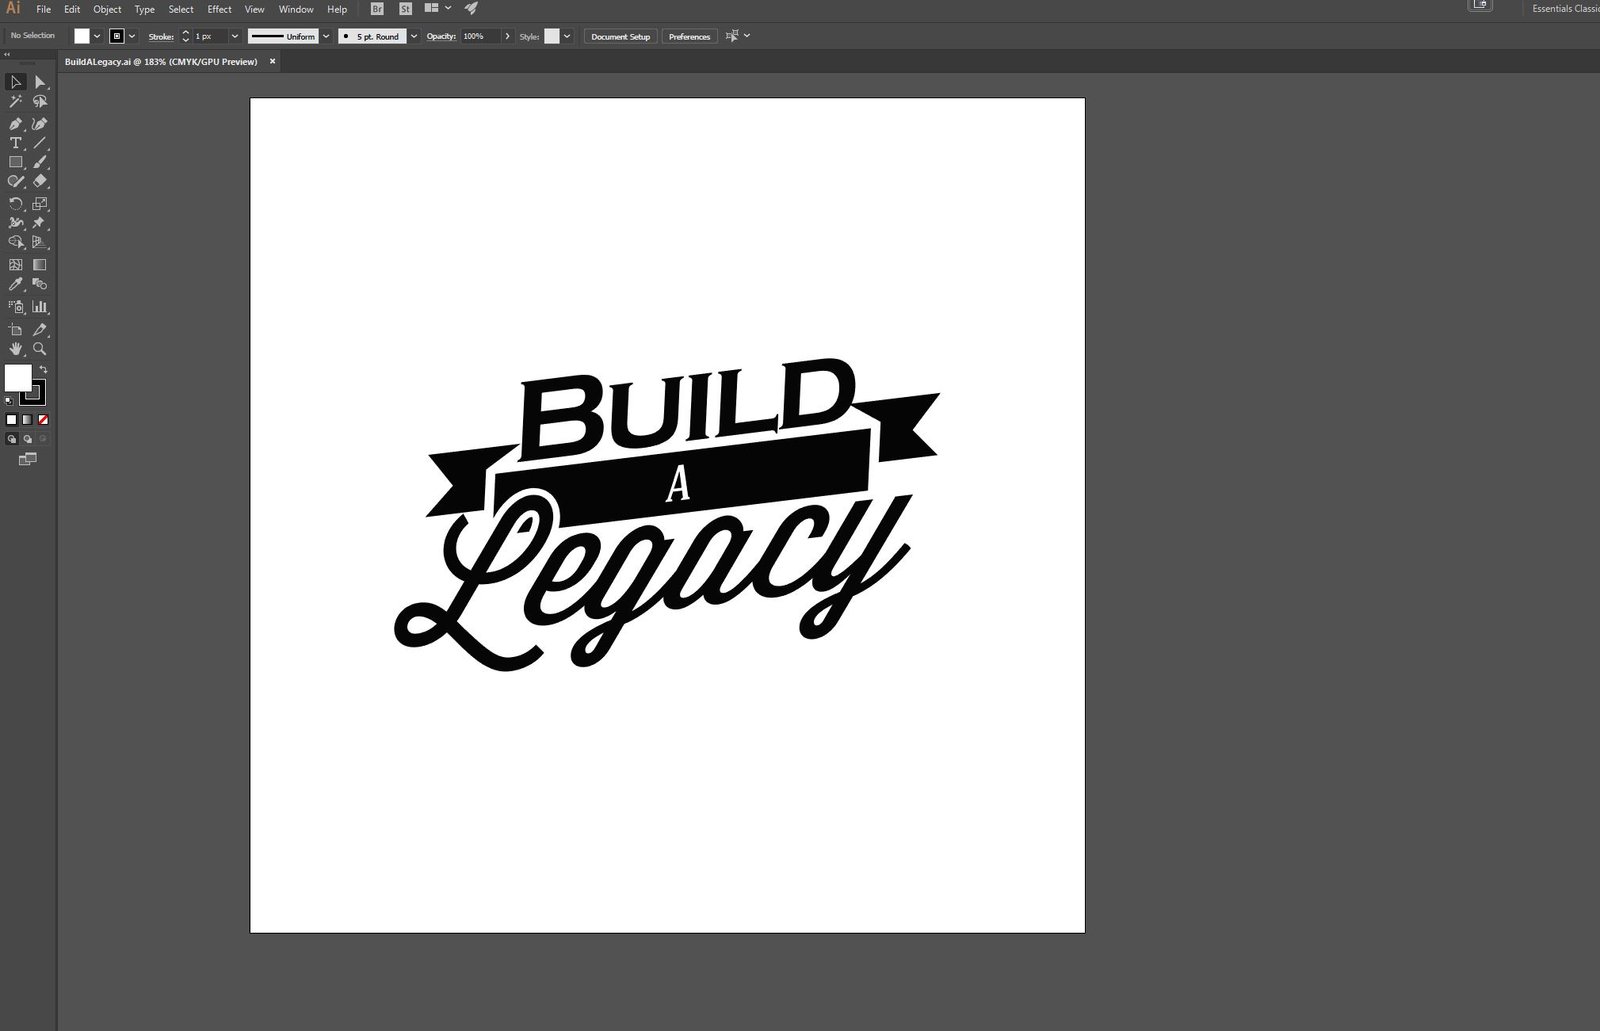
Step 4:
Paste (ctrl+v) your copied vector as a path in the layer that you created the brush in. This will link the two objects together and begin to create the effect that we are looking for.
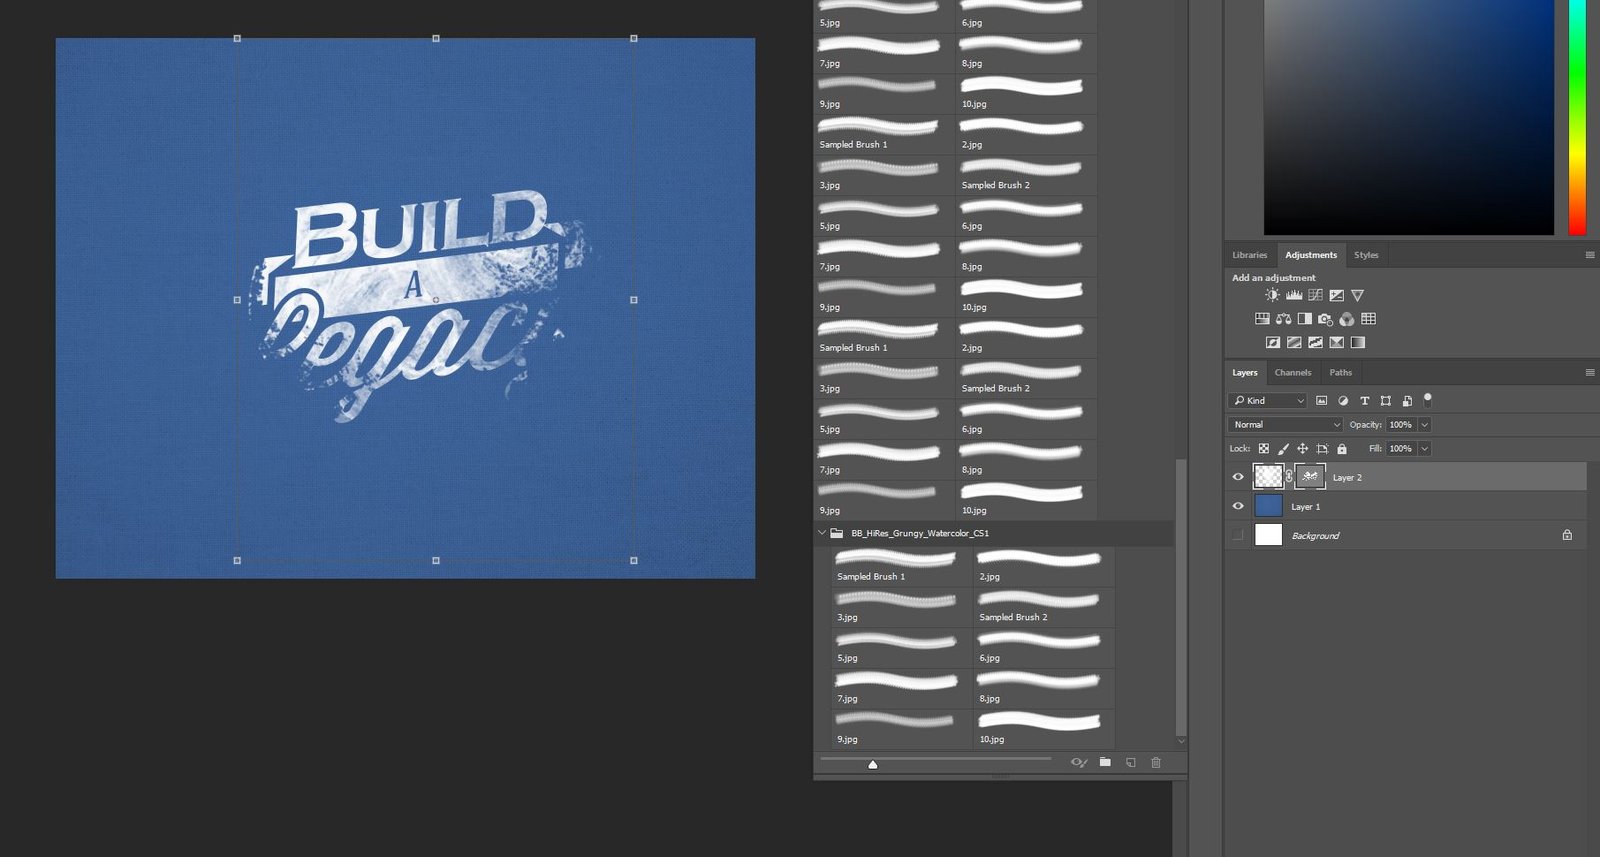
Step 5:
To change the brush size, click the link on the layer in the layer panel to unlink the two objects.
To change the object size, link the two back together and manipulate.
